The Terra Dome is the third sector in Pragmata, and it has five blocks: Terra Dome Entrance, Eco Modeling Lab, Central Lift, Soil Research, and Terrarium.
In this walkthrough, we’ll be guiding you through the prologue and the Terra Dome, while also 100%-ing the sector. This means you’ll find all the storage expanders, safe boxes, pure lunum, mods, cartridge holders, and REMs. We will lead you to some of the upgrade components and Mini Cabin figures along the way, but, as they don’t count toward the sector’s progress, we will be skipping a few along the way. Instead, please check out our Terra Dome upgrade component locations guide and Mini Cabin figure locations guide.
Here’s how to complete the Terra Dome in Pragmata and 100% the sector.
[Ed. note: This guide is a work-in-progress and is missing content about the boss fight for this area and anything that comes after. We’ll update this guide soon with the completed information. Also there are minor spoilers for Pragmata below, but no major story beats are included.]
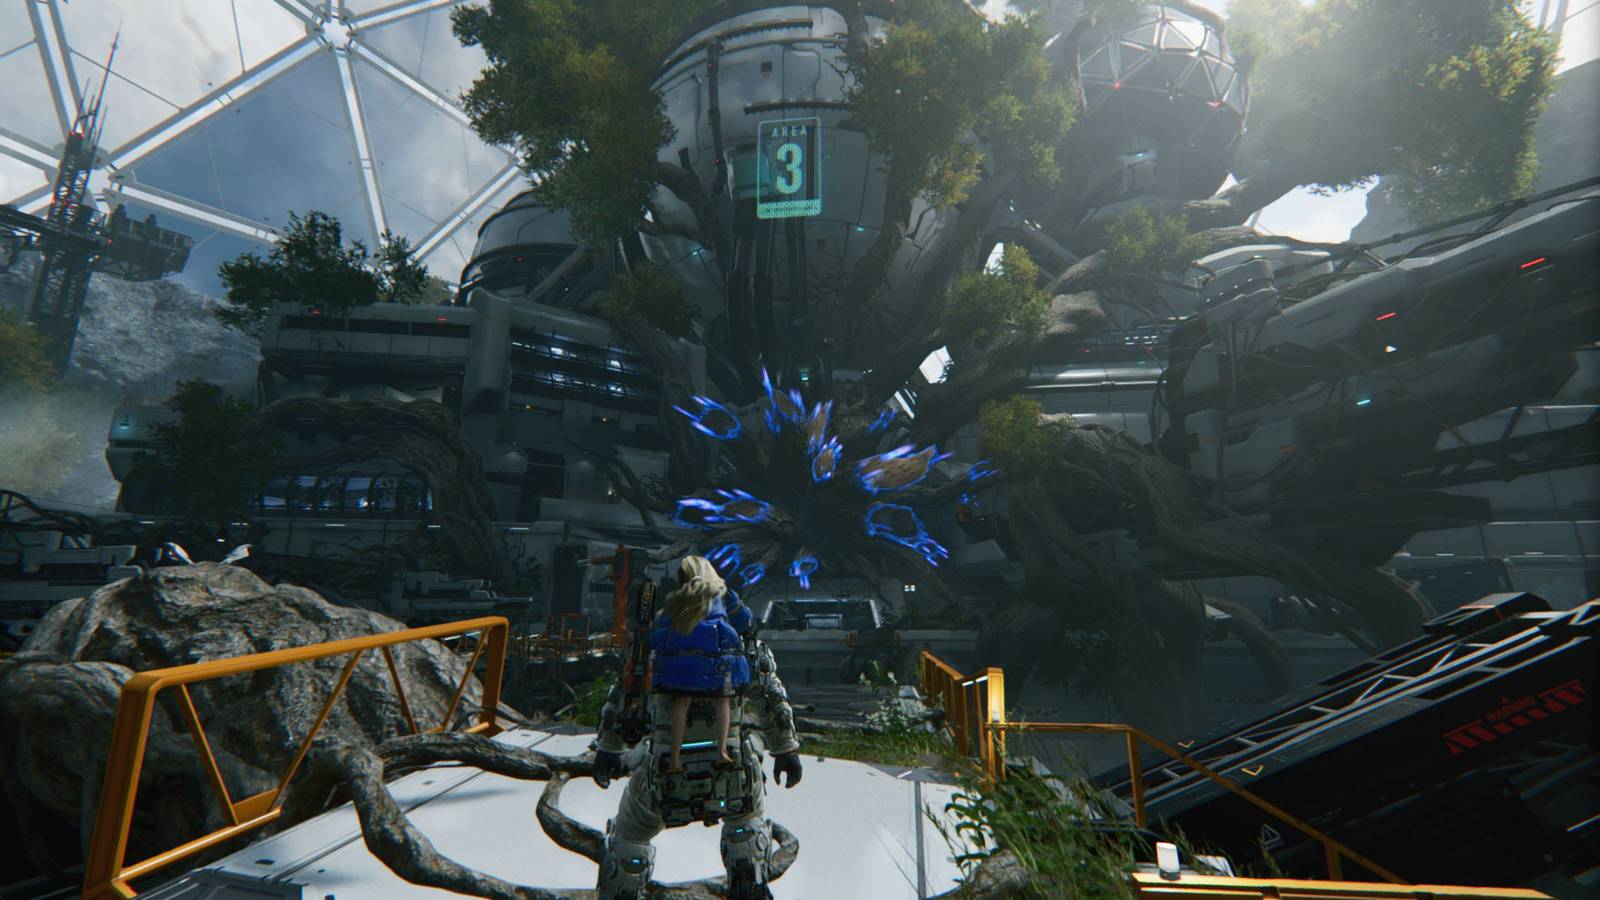
Terra Dome Entrance walkthrough in Pragmata
Head outside into the open area, and follow the tree to the other pathway. Continue to the end where you’ll find an orange crane holding a box. Jump onto the box and then onto the white platform ahead of you. In the grassy area ahead, you’ll find a safe box.

Return to the path and head toward the door, where a new sword-wielding robot will appear. Aim for the circular disc on their head to deal extra damage, and, after you’ve defeated them, head inside. Go into the next room and interact with the control panel to the right, which will get rid of some of the overgrown roots.
Turn around and follow the path to find an escape hatch and an opening in the glass on your right. Go through the hole in the glass, which will start a cutscene.

Look to the left of the Plant Factory door to find a tree with a white platform. Climb onto it and make your way to the Flowers REM on the far platform.

From here, there are two paths you can go: into the Eco Modeling Lab on the right or through the door to the Plant Factory on the left. First, we’ll be heading down the stairs into the Eco Modeling Lab.
Eco Modeling Lab walkthrough in Pragmata

Defeat the walkers inside and go up the stairs. At the top, you’ll find a machine connected to a tree, but we can’t interact with it just yet. Instead, hop over to the downward staircase to the left and drop down. Continue left into the grassy room with a tree that has orange leaves, where you’ll find another new robot enemy. Aim for their head in between the rotating balls and take them out.

Afterward, grab the Gen Chip from the tree and take it back to the machine at the top of the stairs. It’ll create a branch platform, allowing you to reach the top of the stairs, but before you hop onto it, turn to the right of the machine and look up to find a terminal. Hack it to remove some upcoming lasers.

Cross to the top of the stairs and defeat the flying robot. Turn to the right and interact with the wall at the end, revealing it as a holo-wall. Inside, you’ll find a safe box and an upgrade component.

Return to the hallway and follow the path to the left of the door to grab an upgrade component. Go inside where a short cutscene will play. Turn to the right to find an escape hatch and a red gate. Unlock the escape hatch and go back to the Shelter if you’d like. If not, unlock the red gate and head inside.

As you head down the stairs, go into the room on the right to get an upgrade component. Then, follow the tree path and make sure not to fall off as the floor has a few rotating lasers that can deal a lot of damage to you. As you progress along the path, more and more robot enemies will appear, including the two new enemies that we’ve seen in Terra Dome. We recommend holding onto your Ordinance Protocol for when you make it to the top, as there will be around six enemies for you to face off against at once.
After you defeat everyone and unlock the door at the top, you’ll find a Collateral Damage mod and a pure lunum inside. Head back to the escape hatch, but, before you leave, make sure to grab the upgrade component in the back corner of the bottom floor.

Go down the stairs beside the hatch, where you’ll find a robot and another orange-leaved tree with a Gen Chip. On your right, you’ll find an upgrade component and a walker hiding in the trees, but behind them is a Balloons REM.
Follow the grassy path and take the first right. Climb up and go down the stairs to find an upgrade component and a holo-wall to its left. Before you open it, there is a crusher hiding behind the wall, so be prepared to take them down. Climb onto the platform on the left and jump across to find the Recursive Learning mod in a chest.

Go back up the stairs and jump onto the grass to the left. Follow the white railing toward the filament mass and destroy it. Inside, you can spot a safe box in the corner of the room, but as soon as you drop into the area, five rolling robots will spawn. After you defeat them, open up the safe box and hop out the window toward the stairs on your left.

Follow the path to the right of the stairs, where you’ll see an REM locked in a room and simultaneously be jump scared by a walker. Go up the stairs to find sticky bombs, which will deal explosive damage and shrink the enemy’s hacking grid.

Continue along the path to encounter an upgraded version of a crusher, and use the sticky bombs to test its shrinking ability. Once it’s defeated, go down the stairs and grab the Gen Chip.

Instead of going up the stairs ahead, drop into the area on the left by going through the hole in the railing. Defeat the three walkers, and then open the safe box hidden in one of the containers. There’s also a filament mass in the corner that leads to a safe box and a pure lunum, but you’ll need to upgrade your Lim Eraser later on in the story first.

Climb onto the other container and look toward the cliff to find a hole in the wall with a filament mass. Destroy it and follow the path into a hallway full of lasers. At the end, you’ll find the RC Car REM that was behind the glass wall earlier. Hack the terminal on the wall to turn off the lasers and head back to the railing we dropped from.

Go up the stairs where you’ll find a red gate key, a file, and an upgrade component. In the next room, you’ll find the Aggressive Defense mod and an escape hatch. Feel free to go back to the Shelter to gear up, give gifts, and save. Once you’re ready, go up the stairs and hack the door at the end of the hallway.

Inside this room, you’ll have to defeat a series of enemies and avoid the yellow ring on the floor that will soon be struck by lightning. Try to lure the enemies inside as they’ll get stunned, allowing you to get some free hits and hacks in. Go into the next room and grab the upgrade component before dropping in. This room will be the same as the last — avoid the yellow ring. After you’ve defeated them, continue into the next room where you’ll find a holo and the last Gen Chip.
Go into the next room and drop into the hole where you’ll find a file that says the SectorGuard and Lancer have undergone lightning-resistance training… which is a little ominous, but we’ll worry about that later. Head outside where, if you used an escape hatch, you’ll find a respawned walker and a lancer (the sword-wielding robot).

Go up the stairs and go back to the Shelter if you’d like. Put all three Gen Chips into the machines, and hop across the branches until you reach the door. When you get to the top, Diana will sense that there’s a strong bot nearby, and, when you open the door, you’ll see a SectorGuard waiting for you.
As soon as you walk in, two lancers will spawn. We recommend taking them out first, so you can focus solely on the SectorGuard. This fight is exactly like the first from the Solar Power Plant. Avoid the dashes and the red circles while shooting at the weak spot on their back.

After you’ve defeated them, go up the stairs where you’ll find a pure lunum in a chest. Follow the path to the right and interact with the wall at the end, which turns out to be a holo-wall. Inside the room, you’ll find a safe box and a file.

Follow the hallway and drop into the area below, which will take you back to the Terra Dome Entrance sector. In this room, you’ll find a firmware updater for your suit. Interact with it to unlock additional weapon slots, allowing you to hold two attack and tactical units at a time.

Interact with the control panel in the next room, which will open up the glass wall in front of you, but don’t jump down immediately. Instead, turn to the left and slowly glide down while hugging the wall. You’ll land on a platform with a safe box. Drop into the area below, and head to the Plant Factory.
At this point, the Terra Dome sector will be 36% complete.
Plant Factory walkthrough in Pragmata
Head into the Plant Factory, where you’ll immediately face off against three robot enemies. Defeat them and head up the elevator. Read the notice board ahead to learn that we have to go through Decontamination Room A or B, and the choice is up to you.
For Area 1, the rooms contain the following:
- A: 2 walker MK-IIs and 1 impeder (new flying enemy from Terra Dome)
- B: 2 watchers and 2 impeders
In our opinion, Room A is easier as the impeders can get fairly annoying, but choose whichever room, defeat them, and head into the next area for your second choice. However, don’t move past the noticeboards because lasers will spawn behind you, blocking your path backwards.
For Area 2, the rooms contain the following:
- A: 1 spider (the rolling enemy) and 1 impeder
- B: 1 crusher and 2 impeders
Room A is definitely the easier one, but, on the way to Room B, you can pick up an upgrade component, so we recommend going with that route even though it’s a little more difficult. Remember which room you pick, as you’ll need to come back later on and choose the other room.

After you defeat them, you’ll enter a room with three safe boxes and a red gate. However, when you walk into the middle, one of the safe boxes will be blocked off. In this area, you’ll have two choices:
- Red gate: 2 lancers and 1 spider
- Right side: 2 crushers and 2 crusher MK-IIs
Choose the red gate to unlock the bottom row on Cabin’s Stamp board and drop into the hole. Use the Unit Printer machine beside the door if you’re low on ammo or if you have a free weapon slot.

Defeat the enemies inside and make sure to jump over the rotating laser in the middle of the room. In the next area, use the Unit Printer, and open the chest to get a pure lunum.
The next area will be the last area, where you’ll first need to defeat a strange four-headed robot. This is a great time to use the sticky bombs (if you have them) as the hack is almost like a maze. Then, you’ll battle another wave of enemies.

After you defeat them, head into the next room where you’ll find a broken cabin beside training data, the Cheap Shot mod, and a file. Head up the elevator to find a pulse carbine, which can now be used as your main weapon. Go into the next room and interact with the control panel ahead, which will get rid of the trees and unlock the lift.
Before you take the lift, we recommend going back to the Shelter and running through the Plant Factory again to get the safe box that you missed after Area 2.
Once you’re ready, take the lift onto the upper floor of the Center Hall, and, at this point, the Terra Dome sector should be 52% complete.
Soil Research walkthrough in Pragmata

On the next floor, interact with the escape hatch and jump onto the platform with the chest to get the Precision Shot mod. If you drop below the platform with the mod, you’ll find another platform with an upgrade component.
As the Soil Research area is on lockdown, head up the stairs instead, where you’ll find Eight trapped in tree roots. Unfortunately, you can’t save her just yet, but you’ve unlocked Soil Research, so head back down.

Inside Soil Research, take the path to the right first to find a safe box. Then, take the left path to end up at a beach and start another cutscene.

Once the cutscene is over, turn to the left to find a filament mass. Destroy it and drop into the hole where you’ll find more training data and a file. Go back up and follow the path, which will lead you to a locked door. Hack the terminal to its left, leaving just three more.

Just ahead of you is another terminal, but there are two walkers hiding behind the tree. Hack it, and return to the door.

Face away from the door to find a hole in the rock wall. Go inside and follow the path down.

In the next room, there will be an invisible robot. Be on the lookout for a cloaked robot, and, if you have a sticky bomb, you can shoot it to reveal it. After you defeat it, hack the terminal on the wall, leaving just one left.
Go toward the elevator to find the photon laser attack unit, and ride the lift. Defeat the enemies at the top and follow the path ahead. In the next hallway, there will be another one of those strange four-headed robots and a walker on the left and an invisible robot on the right.

Once you’ve defeated them, go to the right to grab the safe box, and then go the other way to hack the final terminal.

Turn to the left of the terminal and follow the white path ahead. At its end, you’ll find a lunafilament trail that goes downward. Follow it to find a hidden safe box. Then, go through the beach to return to the now unlocked door, but, be careful, as there’s another invisible robot on the beach.
Past the unlocked door, you’ll find an escape hatch, a file, and an elevator. Feel free to go back to the Shelter to restock and upgrade your gear, and use the elevator when you’re ready. As soon as you reach the bottom, a small pylon will start emitting jamming waves, when, if touched, will prevent you from hacking. Jump over the wave and hack it as quickly as possible.

Turn to the right where you’ll find a holo-wall. Interact with it to reveal a room with a safe box. Then, to the left of the door, destroy the filament mass and grab the safe box behind it.

Hack the door and follow the path to find another safe box, but be careful as there is another invisible robot hiding about. Then, interact with the control panel to remove the trees in the room, which opens up the doorway.

Follow the path ahead into the next room, where you’ll battle two waves of enemies, including a jammer and a new lancer MK-II. Once they’ve been defeated, continue into the next area, which has a hackable door and a unit printer in the main room and a safe box in the back room.

Hack the door and head inside, but don’t go through the yellow barrier just yet. Instead, turn to the left and destroy the filament mass. Climb up and drop into the following hole to find the Swing REM and a Mini Cabin figure in the pod beside it. Hack the door and retrace your steps to the yellow barrier.

Walk through the barrier onto the platform on the left. Then, turn to the right and jump across to find a safe box. You can reach the other safe box if you have level three thrusters. Hop back to the previous platform, and then sprint jump and dash midair as many times as you can. If done correctly, you’ll latch onto the ledge and pull yourself up. If you don’t make it, don’t worry, as you can make it after the ensuing battle.

Drop onto the floor, where you’ll battle two waves of enemies. Once you’ve beaten them, hack the terminal on the wall to bring up a platform. Climb on and grab the safe box if you missed it.

Head through the door where you’ll find a chest with a pure lunum. Then, climb onto the large white rectangular container, and sprint jump and dash toward the white caution wall to climb over it. Behind it, you’ll find filament masses blocking a safe box. Hack the terminal next to the box, and return to the previous room.
Go through the door beside the lifted caution wall to find an elevator, but don’t immediately take it as there is an upgrade component in the next room. After you grab it, ride the elevator, which will take you to the next sector.
At this point, Soil Research should be complete and the Terra Dome sector should be at 88% progress.
Terrarium walkthrough in Pragmata

At the bottom of the elevator, you’ll enter a room with an escape hatch in front of a locked door. To the left of the locked door, you’ll find a red gate that contains the pure lunum and storage expander to finish this block, but we don’t have any keys at the moment.

Follow the path to the right of the escape hatch to find a terminal and hack it, which will unlock the door. If you follow the path inside, you’ll end up in a boss fight, so make sure to head back to the Shelter before dropping in.