Experimental Pragmatics is the fifth sector in Pragmata, and it has, well, no blocks. In fact, it doesn’t even have a progress percentage, but it has a lot of lore. You’ll learn a lot about Diana and the history of pragmata, as long as you care to read the files scattered about.
Here’s how to complete Experimental Pragmatics in Pragmata.
[Ed. note: This guide contains spoilers for Pragmata, so continue at your own risk! Feel free to follow along or bookmark this page and come back if you get stuck.]
Experimental Pragmatics walkthrough in Pragmata
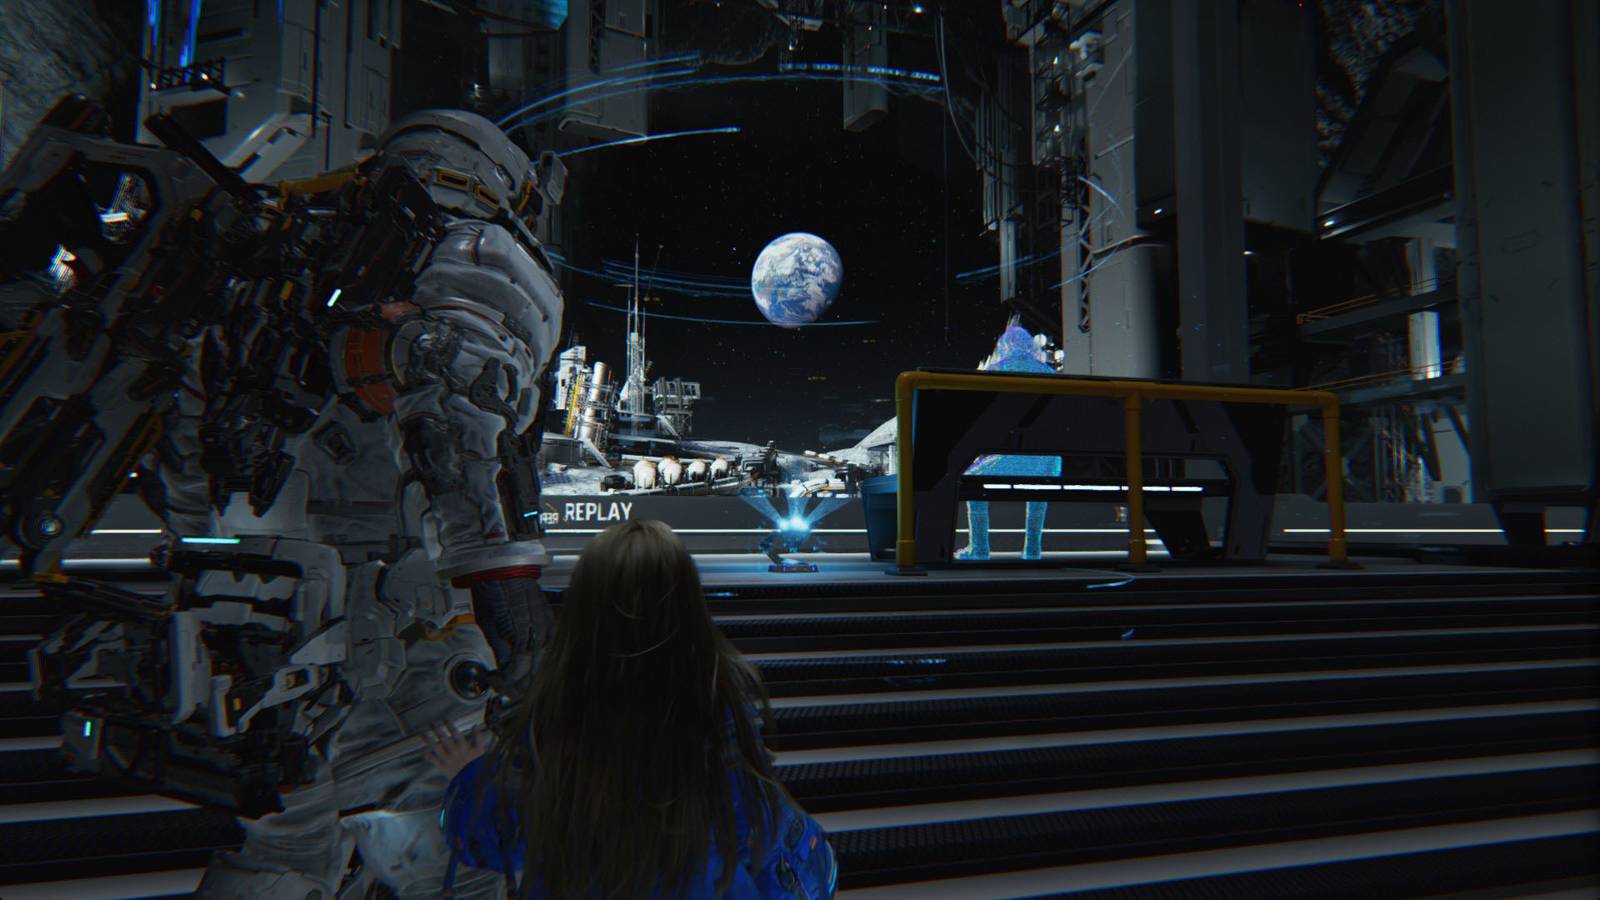
Carry Diana to the machine to initiate a cutscene. After, follow the path until a walker spawns in your way. You’ll learn that Diana is currently malfunctioning, which means there will be purple corrupted nodes in the hacking matrix, similar to the walker covered in black goop. When you go through one of these nodes, they will prevent you from hacking for a split second and drain your hacking gauge.
Continue into the next room and defeat the walker and walker MK-II. Then, go into the next room to find another walker MK-II and black goop on the floor. Try to stay out of the black goop as it’ll prevent you from hacking. Keep following the path ahead, defeating the enemies that appear, and avoiding the black goop.

Holos will start to appear, teaching you more about Dr. Higgins and Diana’s relationship. At the end of the path, hack the terminal and ride the elevator down. At the bottom, a lancer and watcher MK-II will be waiting for you in a doorway. Similar to before, follow the path while defeating any enemy and avoiding the black goop until you reach an elevator.

Take the elevator up and go to the end of the hall where you’ll find another holo featuring Dr. Higgins. Go into the next room, up the broken staircase, and through the door to find another holo and a file that teaches you more about Daisy, Dr. Higgins’ daughter.

Hack the terminal on the wall and destroy the filament in the next room, which will reveal another hackable terminal. Hack it and head into the next room which contains a couple of files.

Destroy the filament mass behind the lasers and hack the terminal in the next room to get rid of the lasers.

Head out into the hall to find another laser wall. Look up to the ceiling to find the terminal and hack it, removing the lasers. Go into the next room to find a file on the desk.

Continue into the next room to finally reach the reactor. As soon as you pick it up, four walkers and a lancer will spawn one after the other. Defeat them and take Diana into the next area, where a cutscene will play. Afterward, put Diana back onto the table to start another cutscene.
A robot covered in dead filament will burst through the window and attack you. Focus on dodging as your bullets are ineffective. Eventually, Diana will be restored and you’ll need to use Ordinance Protocol to defeat them. After the cutscene is over, you’ll unlock Deletion Protocol, which is an upgraded version of Ordinance Protocol. Only this time will it cleanse dead filament and shrink the hacking matrix to its smallest size.

Go through the blue door, where you’ll learn that Diana can now get rid of the dead filament. Hold the same button you normally would to destroy filament masses until Diana’s arm is fully charged, and let go to cleanse the filament. Cleanse the path to the tram and take it back to the Shelter, where you’ll upgrade the Shelter to level four and unlock the Central Port.

Make sure to talk to Cabin and unlock the two red gate keys on the stamp board before heading out. Additionally, you can now head back to Mass Production Array, Terra Dome, and Lunum Mines to get rid of the dead filament and 100% them.